You may be wondering, “Can you replace the lens on a projector?” This article will cover the steps to clean the projector’s lens, add a new conversion lens, and clean the fan. You may also want to check if the projector has a dust problem. The chances of finding dust inside the lens are slim. But, in the event that you do encounter dust inside the lens, it’s possible that the problem is caused by an internal problem.
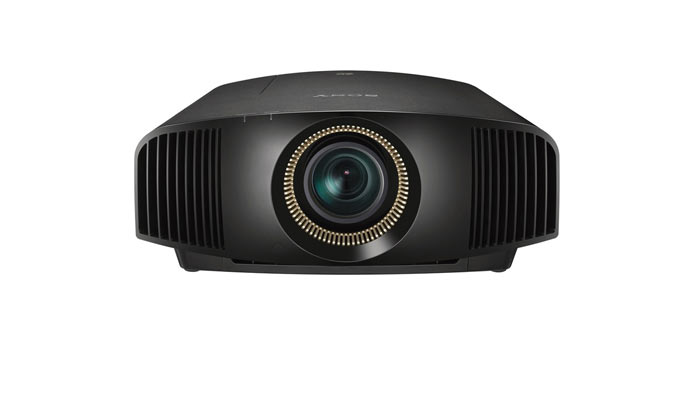
Removing the lens from a projector
The first step to removing a projector lens is to remove the front or rear lens cover. The lens may have a front or rear cap, so make sure to remove it. Once the lens is removed, remove the screws that hold the lens in place. The lens may have a focus and zoom knob. The lens may have a lens lock; this prevents accidental changes. Remove the lens from the projector and clean the backside with a microfiber cloth and denatured alcohol.
First, remove the protective cap that covers the lens. This cap serves as a shield for the lens and protects it from external damages. Do not force the lens cap as this may damage the surface of the lens. If the lens cap becomes damaged, you may need to replace the lens. Make sure to follow the instructions that come with the lens. If the lens cap is removed, the lens may need to be replaced, read this post here.
Cleaning the lens
If you are having trouble seeing the picture on the screen, you might want to know how to clean the lens of a projector. You can use compressed air to clean the lens, or you can also use a lens cleaning solution. You can find lens cleansing solutions in any photography store or even at the store where you bought your projector. But make sure to clean the lens with the right solution for your type of projector.
In addition to regular cleaning, you should clean the lens of your projector occasionally to avoid scratching it. To clean the lens, first make sure the projector is cool. Use a lens cleaning wipe to remove dust and smudges. If the smudges are stubborn, use a lens cleaner. Never use water or any direct liquid on the lens, as this could lead to damage to the lens.
Adding a conversion lens
Adding a conversion lens to your projector is a simple way to change the optical specs of your device. The conversion lens fits over the standard lens of the projector and changes the picture size by as much as 20 or 50 percent. It sits on a stabilizing leg that sits in front of the lens. There are predrilled holes in the stabilizing leg for semi-permanent mounting. You can then attach an extension arm to the projector mounting plate. The conversion lens is available for several projector types and is compatible with various types of projectors.
The Navitar conversion lens is a popular choice. It features a multicoated Buhl conversion lens that produces a near-perfect copy of the original image. It also doesn’t exhibit any geometric distortion and is bright to the corners. The lens reduces brightness by five to fifteen percent. During my tests, I used the Navitar conversion lens with a Barco Cine VERSUM 60 projector. The lens was ninety-nine dollars and was purchased online from Navitar.
Cleaning the fan
If you want to clean the lens of your projector, you should first disassemble the housing. You should then remove the lens. Using compressed air or a lens cleansing solution, wipe away dust and debris. Be careful not to apply too much cleaning solution because this may cause damage to the lens and anti-reflective coating. Also, you should never rub or apply cleaning solution to the inner lens side. This is because it’s an internal component. If you’re not confident with projector repair, take the projector to a professional for a proper cleaning.
Summary
Before cleaning the lens, turn off the projector. The lens of a projector tends to get very hot. If it’s hot, it may break. So, make sure to let the lens cool down before cleaning it. You can also try using compressed air to clean the inside of the projector. Make sure to use short bursts, but target the dust with the compressed air.